ALU Chair
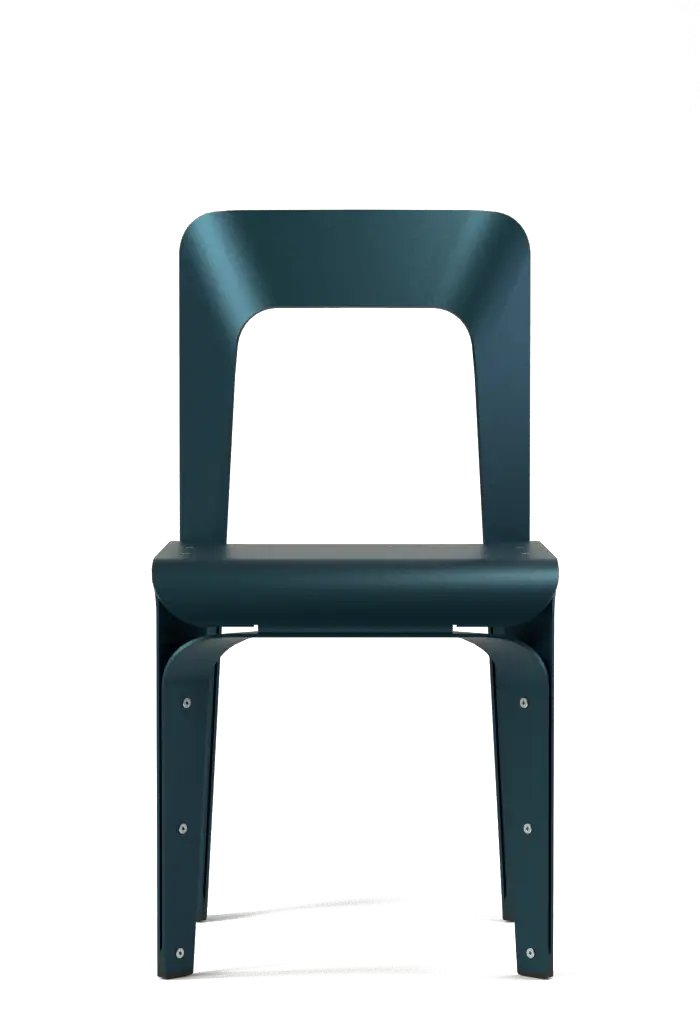
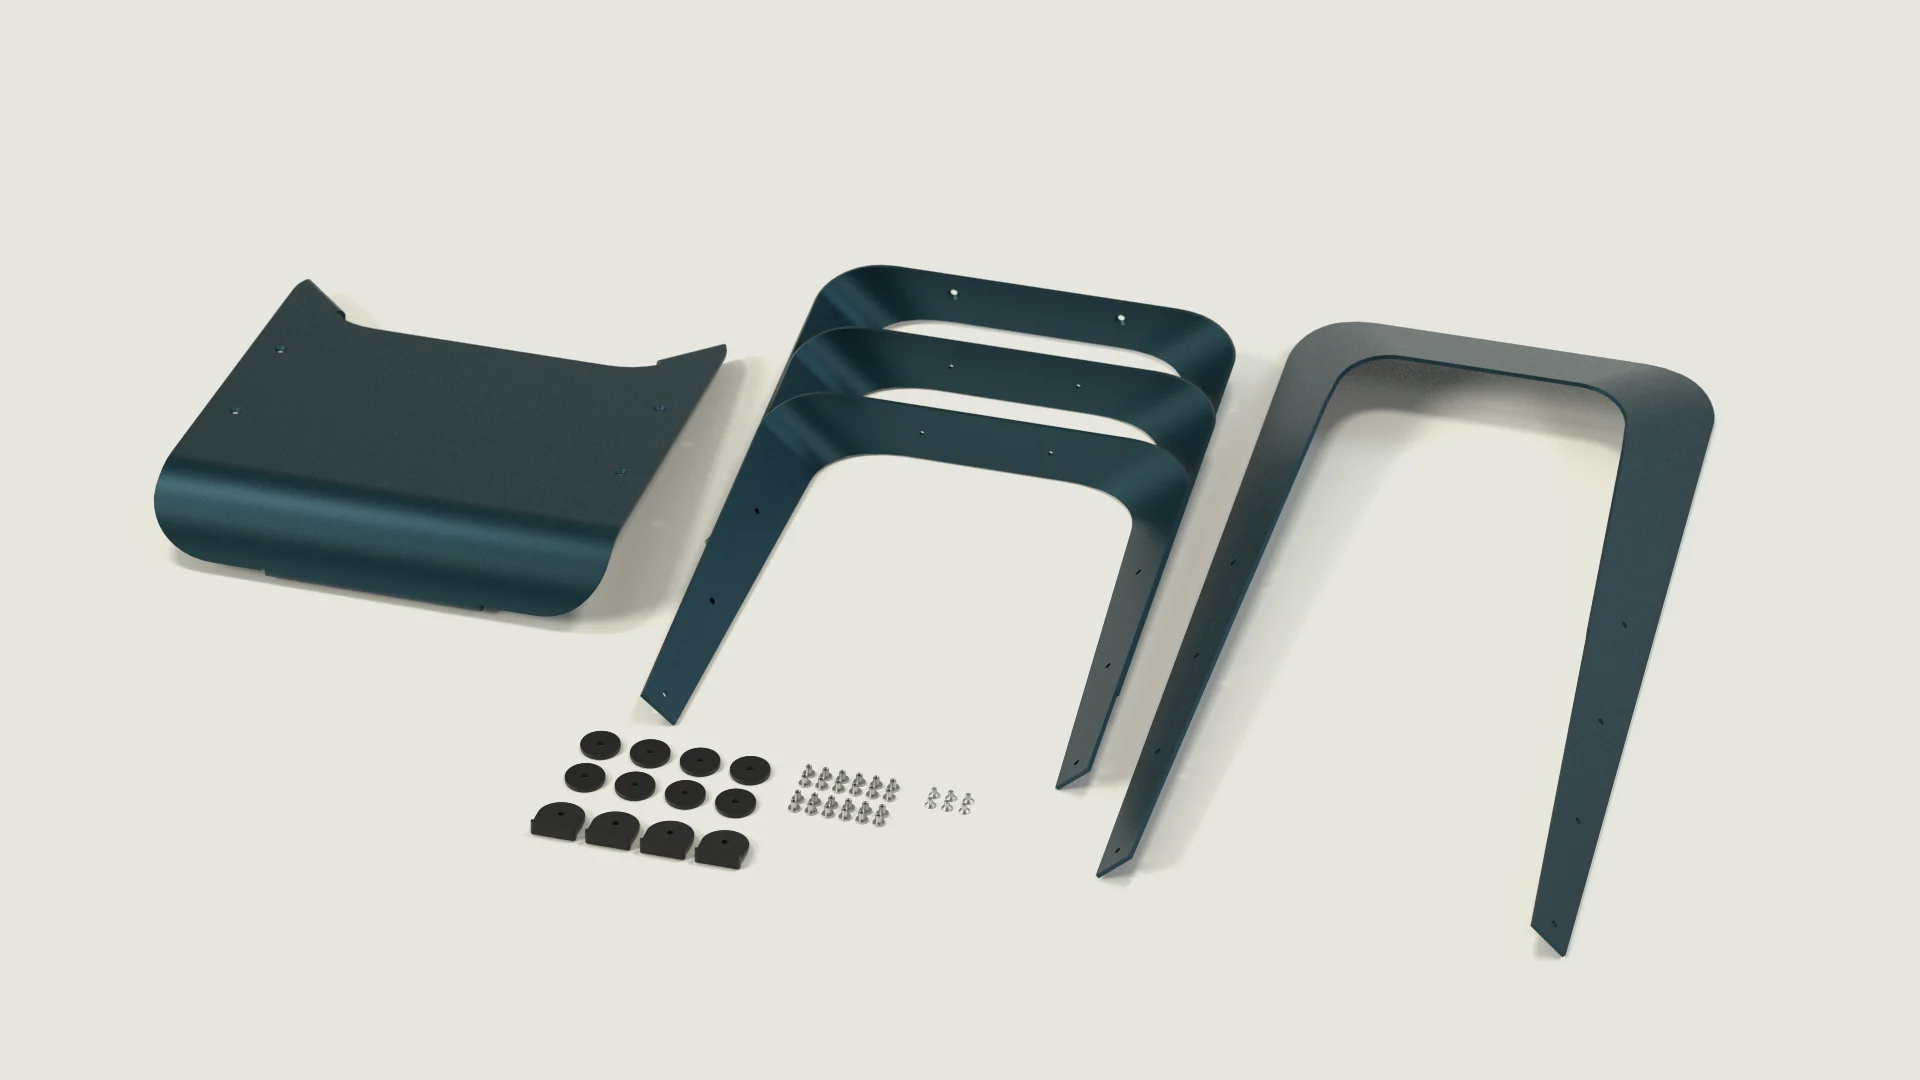
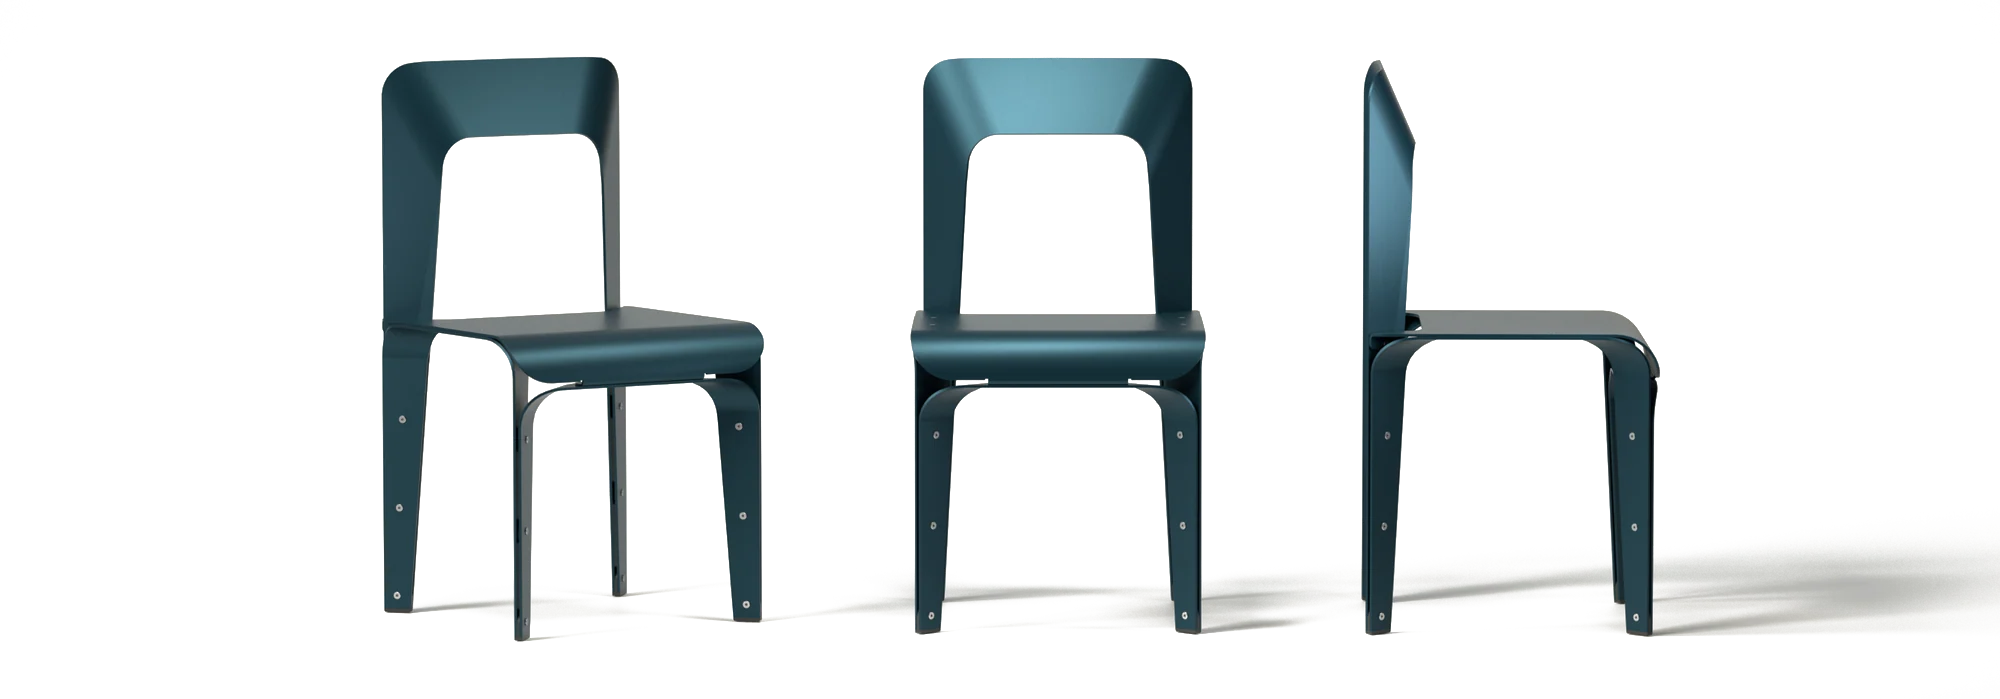
Five laser-cut aluminium sheets, bent in one direction only and bolted together. The construction is the form.
The Project
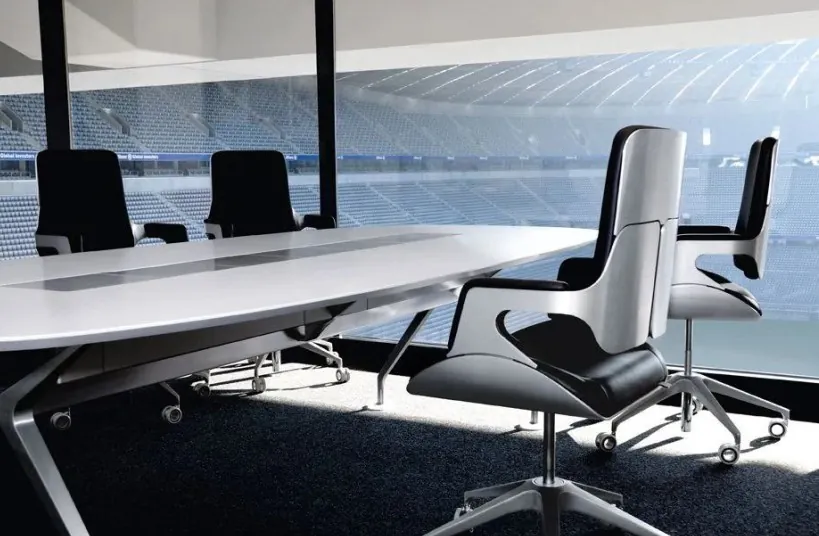
This was a project at University of Applied Arts Vienna in collaboration with HAY. As a starting point for the project I chose the Interstuhl 262S by Hadi Teherani to study and identify what makes it interesting and develop it into a sitting object through exploration.
Early on I realised that the Interstuhl only has 2D bends, yet it achieves pretty interesting and organic shapes where the bends create the geometry. I wanted to translate this quality and visual language into a more affordable product such as a living room or a café. During this project I did a lot of exploration on how to achieve rigidity through 2D bends and assembly. Laser cutting, bends in a single direction, simple joints. No double curvature, no stamping, no hidden reinforcement.
Exploration
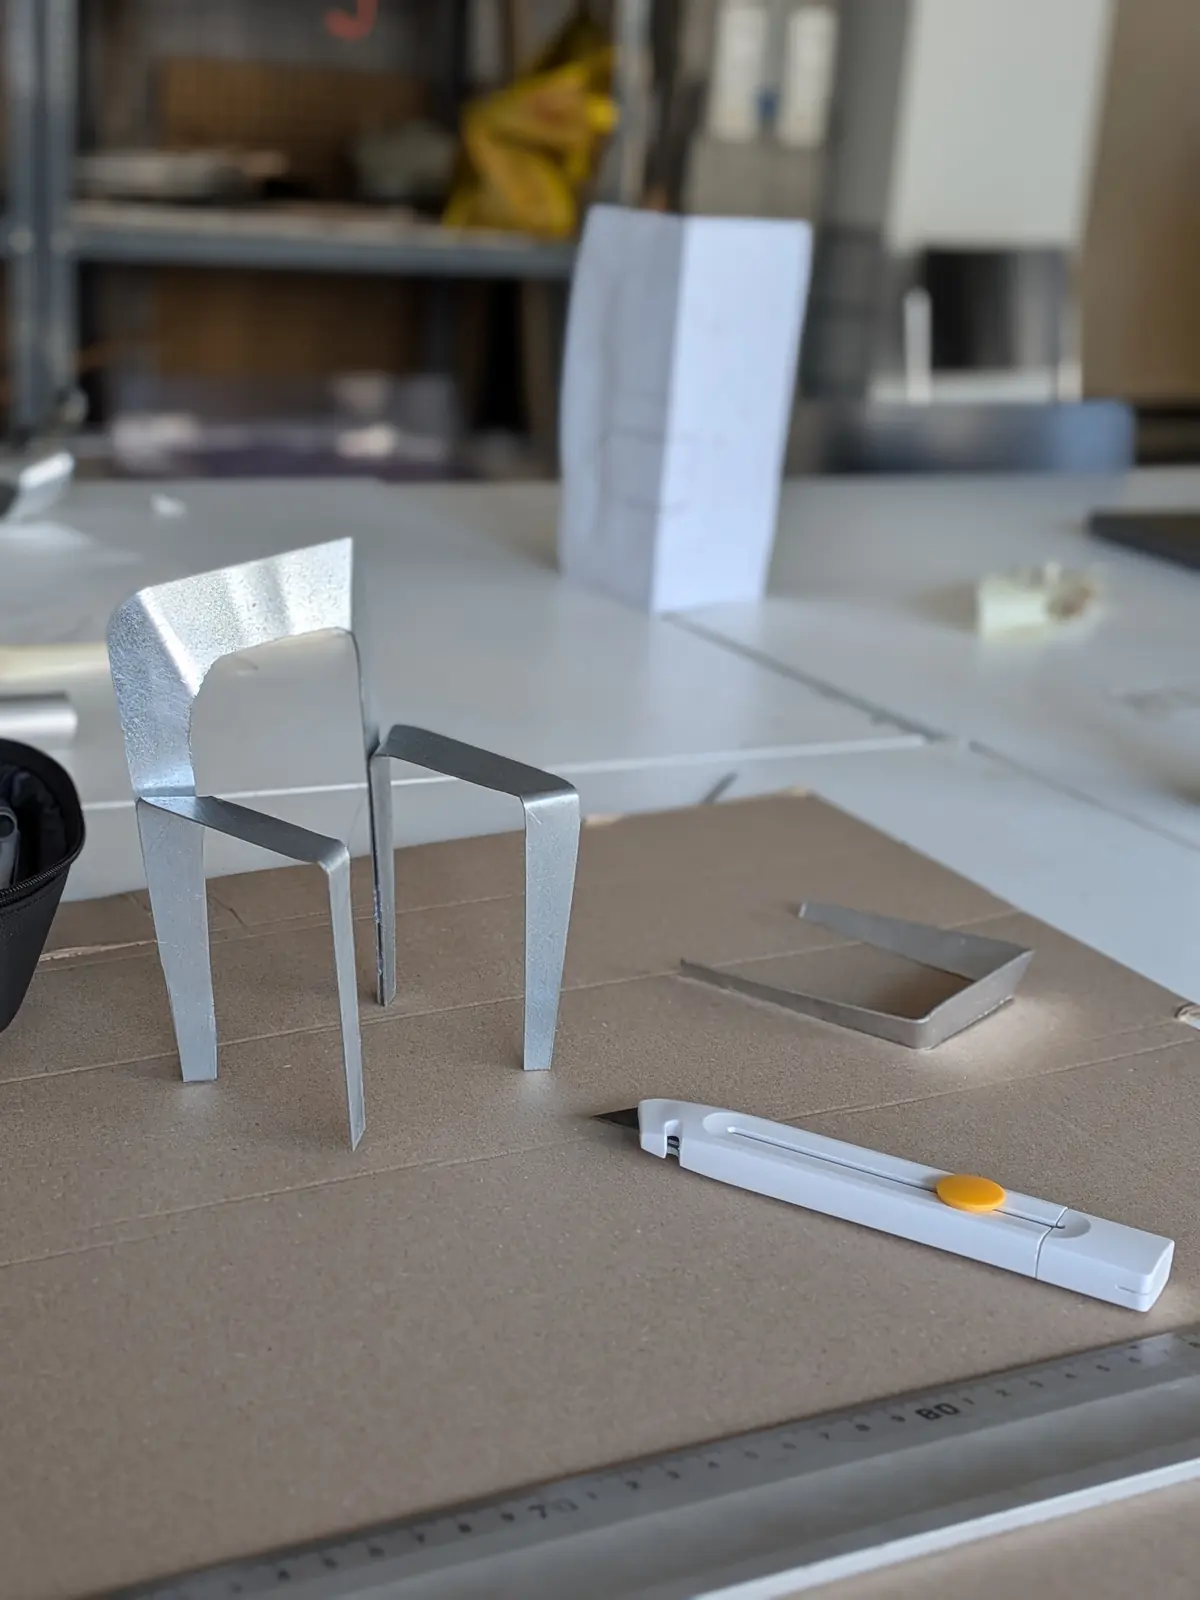
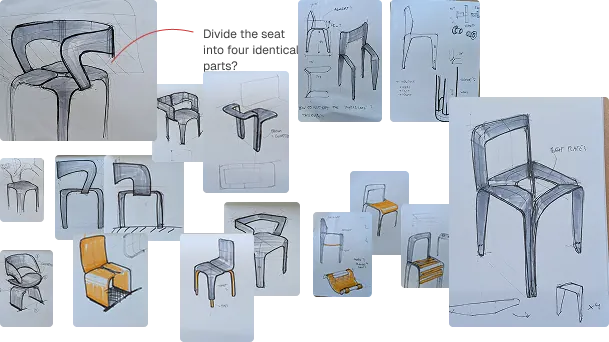
In the kickoff week I rebuilt part of the reference chair to understand its shapes. Sketching throughout, I tried different bends and constructions before building small models.
Eventually I landed on 45-degree bends for the legs which I wanted to develop further. The interesting part is how the backrest is carrying on as an extension of the legs.
Experiments
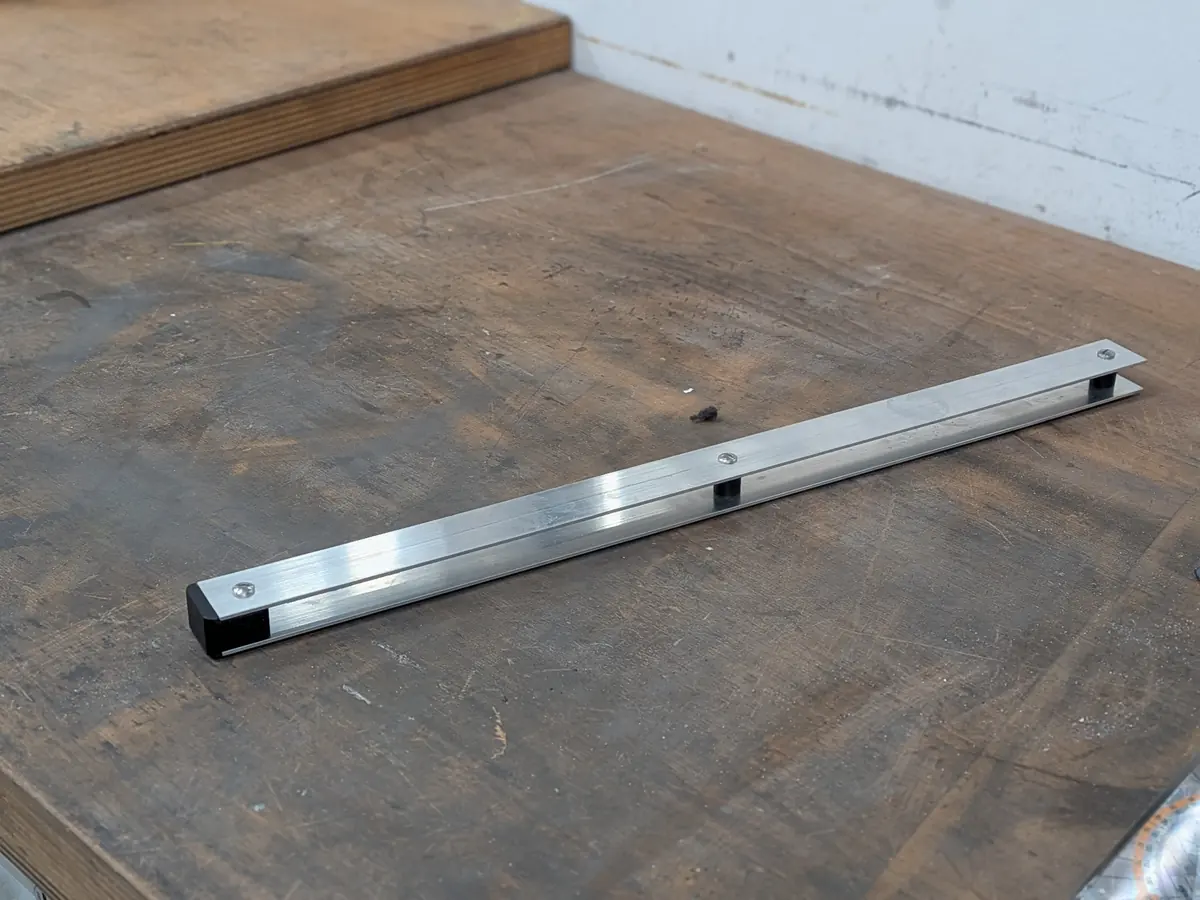
Furthermore I explored different joints such as rivets, screws and spacers. I wanted the assembly to be readable. You should be able to look at the chair and understand how it goes together. Furniture screws + spacers won, partly because they let it be flat-packed and it gives the chair an industrial and honest aesthetic.
Full scale prototype
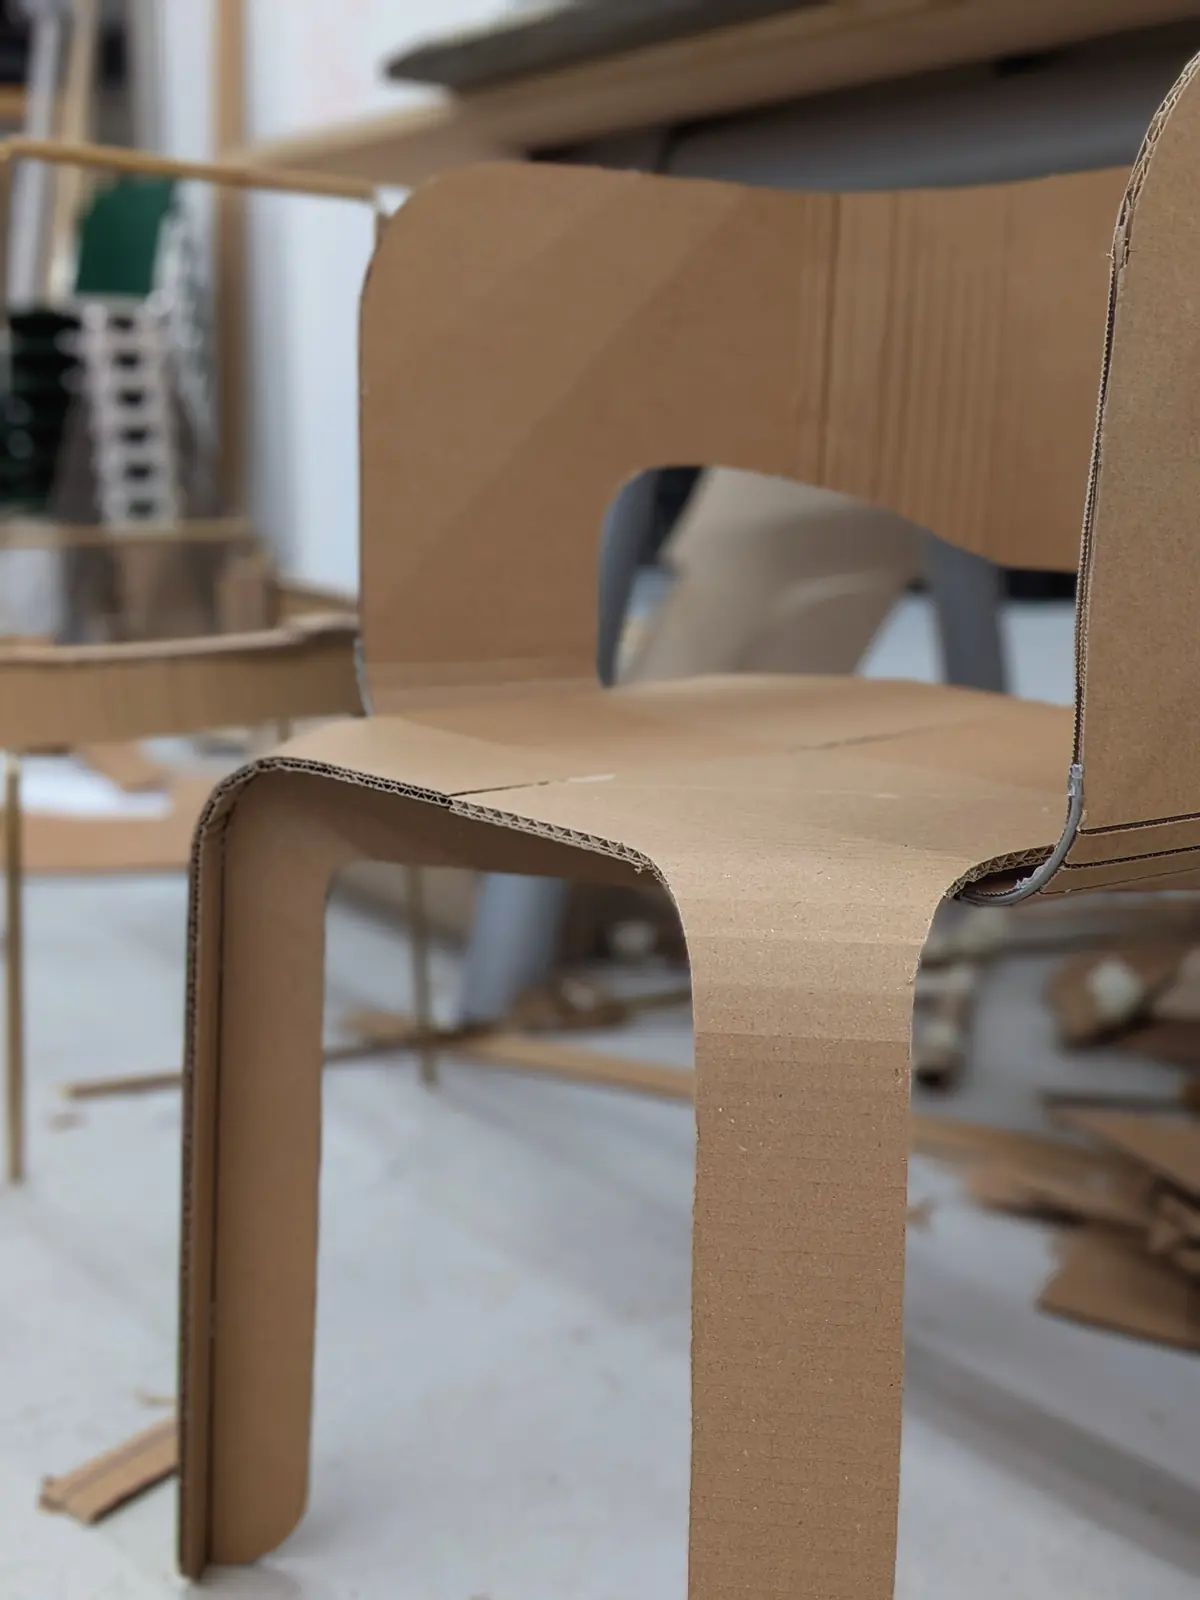
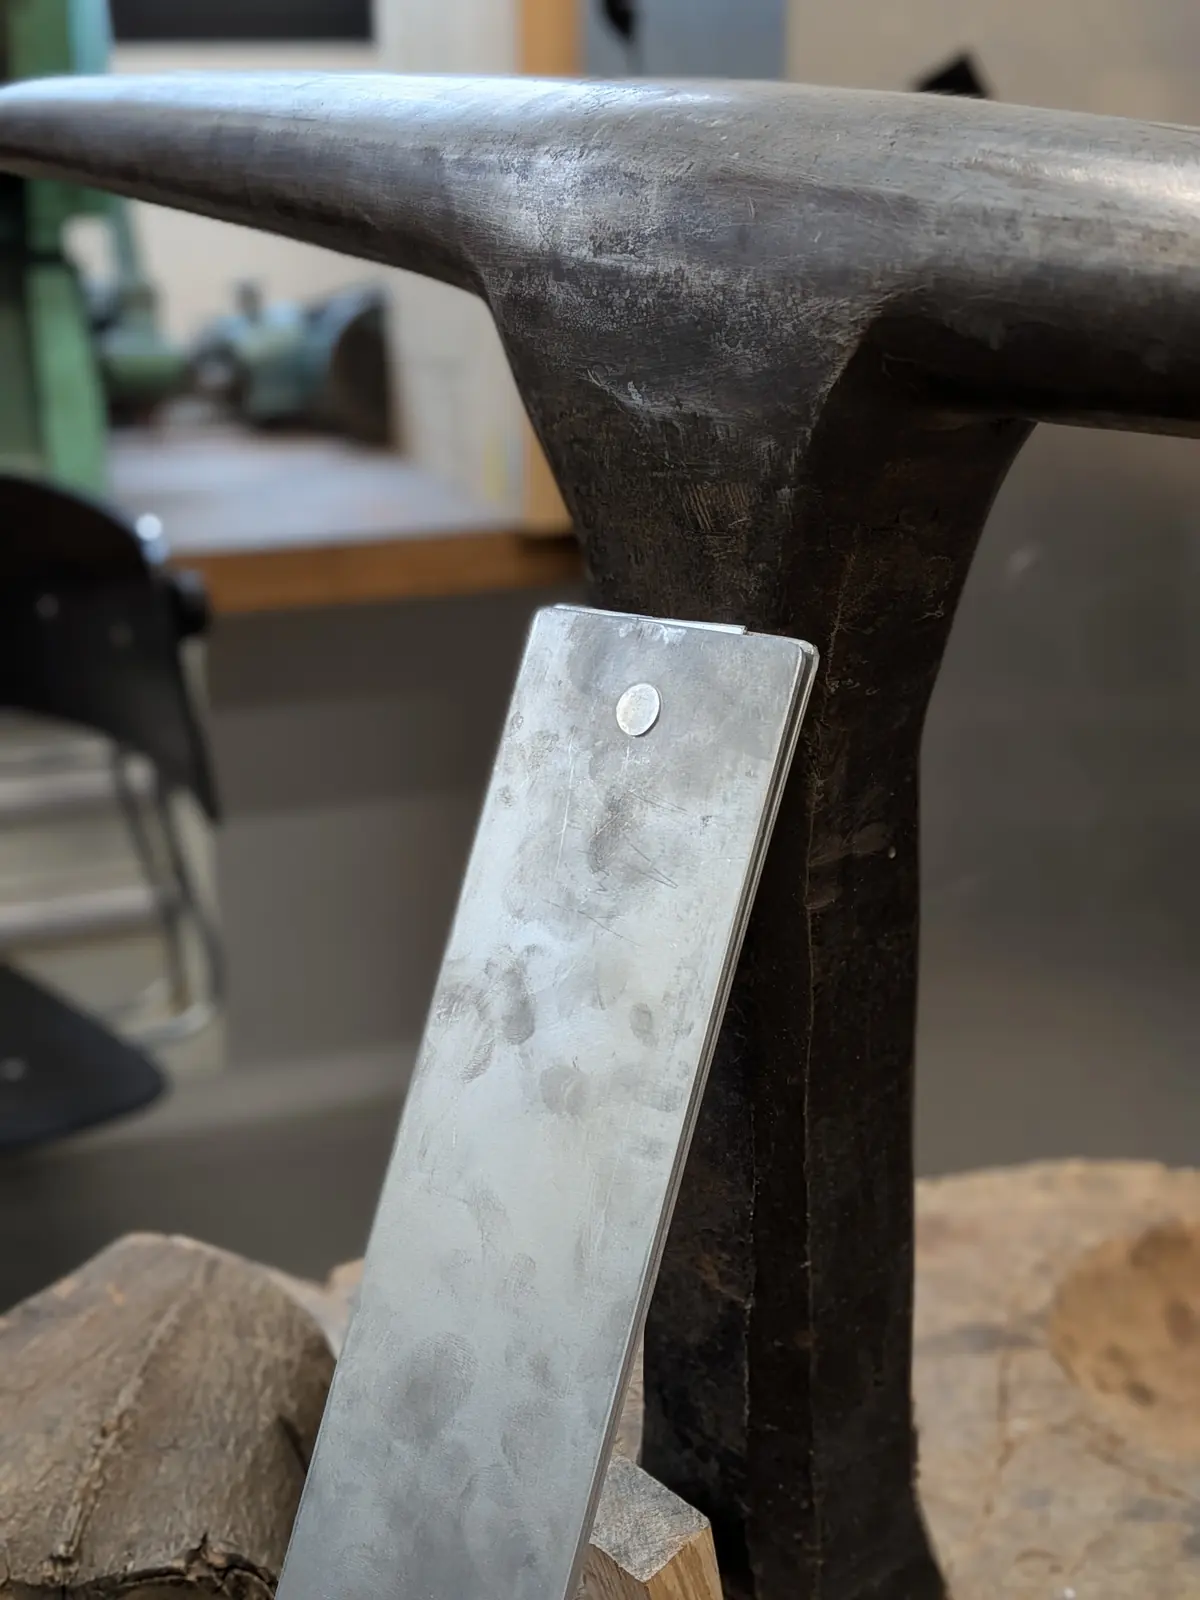
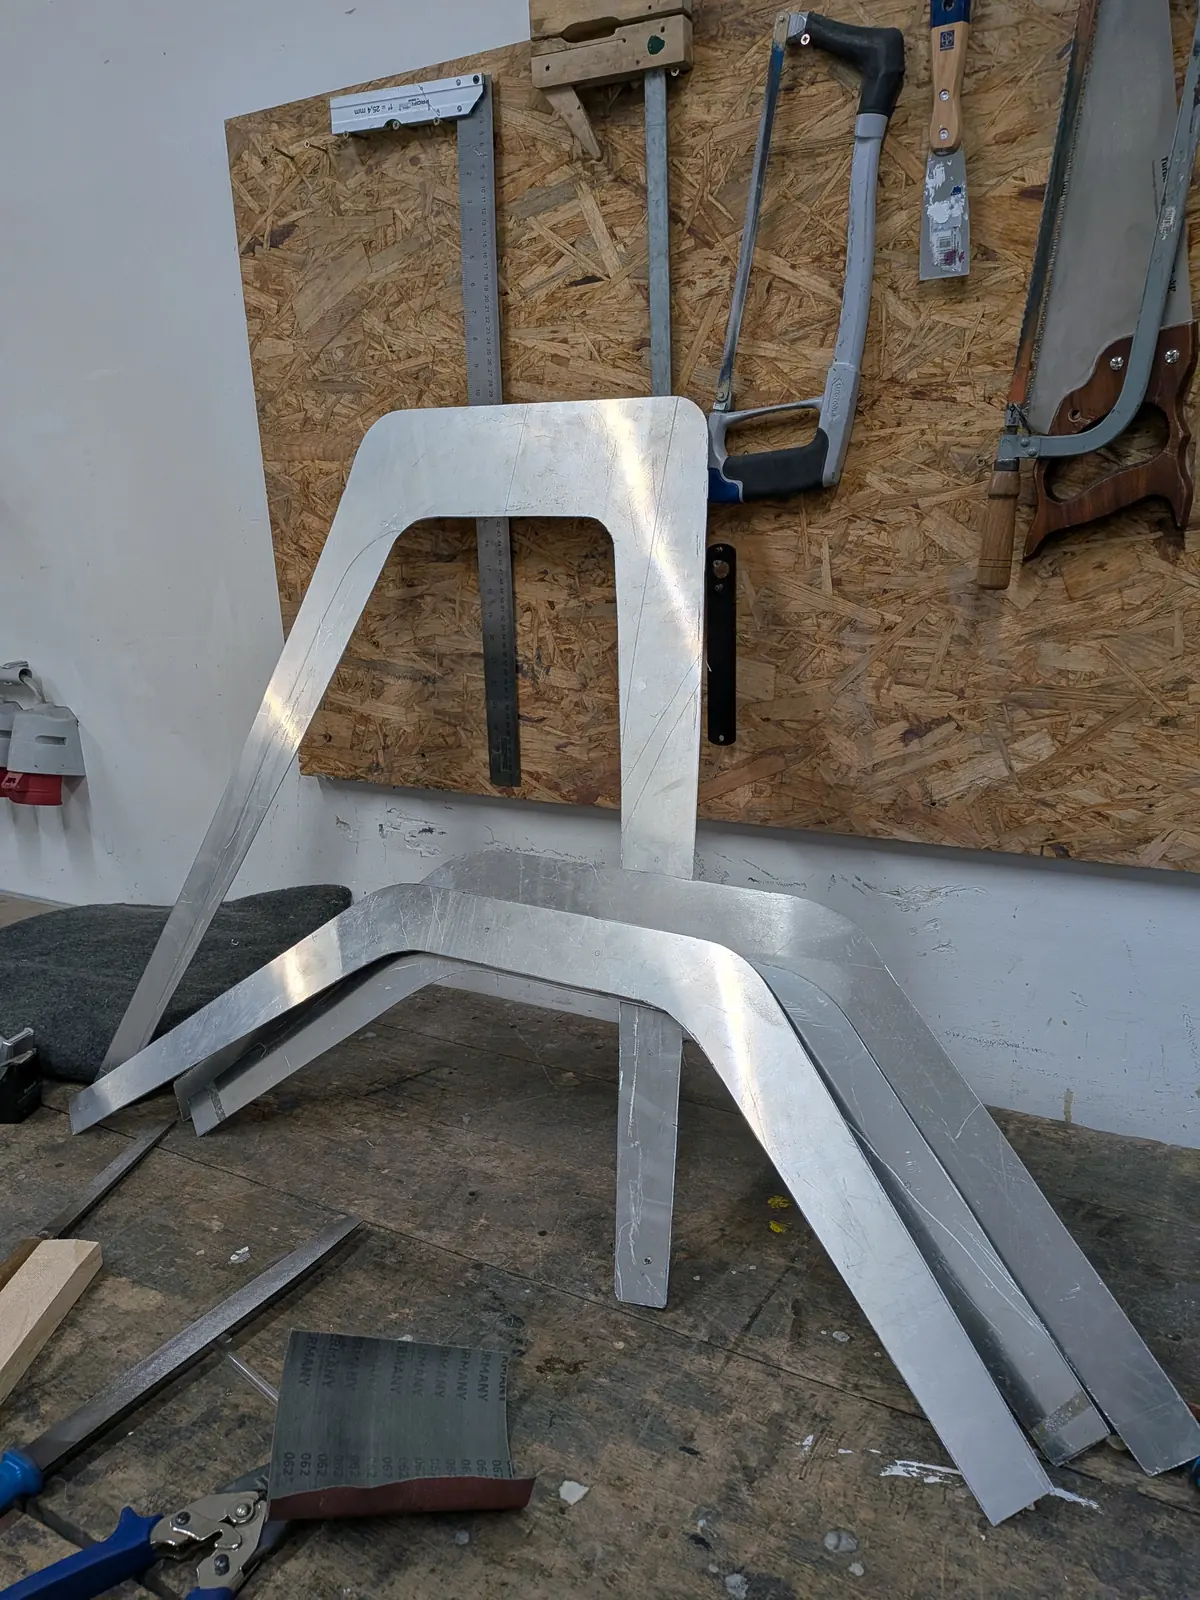
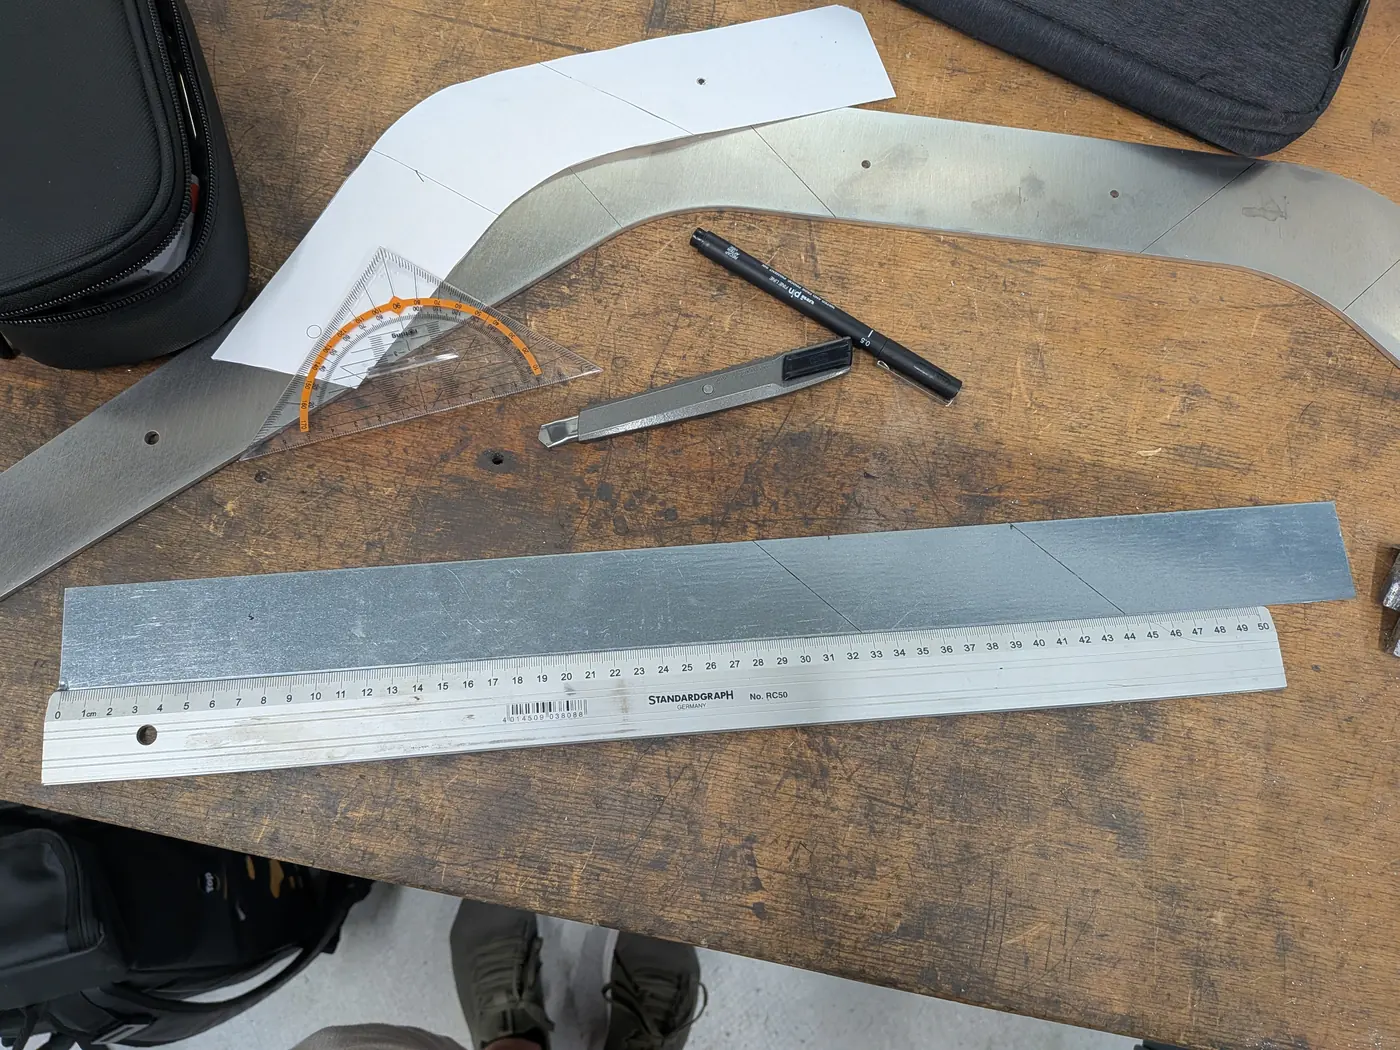
Before committing to 4 mm, I built the whole chair in 2 mm scrap aluminium. No laser cutter at the university would take metal, so I cut cardboard templates and did the aluminium by hand. Precision suffered a bit and 2 mm was far too thin, but it showed me how the assembly would go and where the weak points would be.
While building the model I also had to consider how to bend it and how to assemble it. It was really valuable building it just to get a sense of how it would look and feel, how it would react to the environment. A big takeaway was for the seat to be structural and tie the whole assembly together. Everything connects to the chair.
Building the final prototype
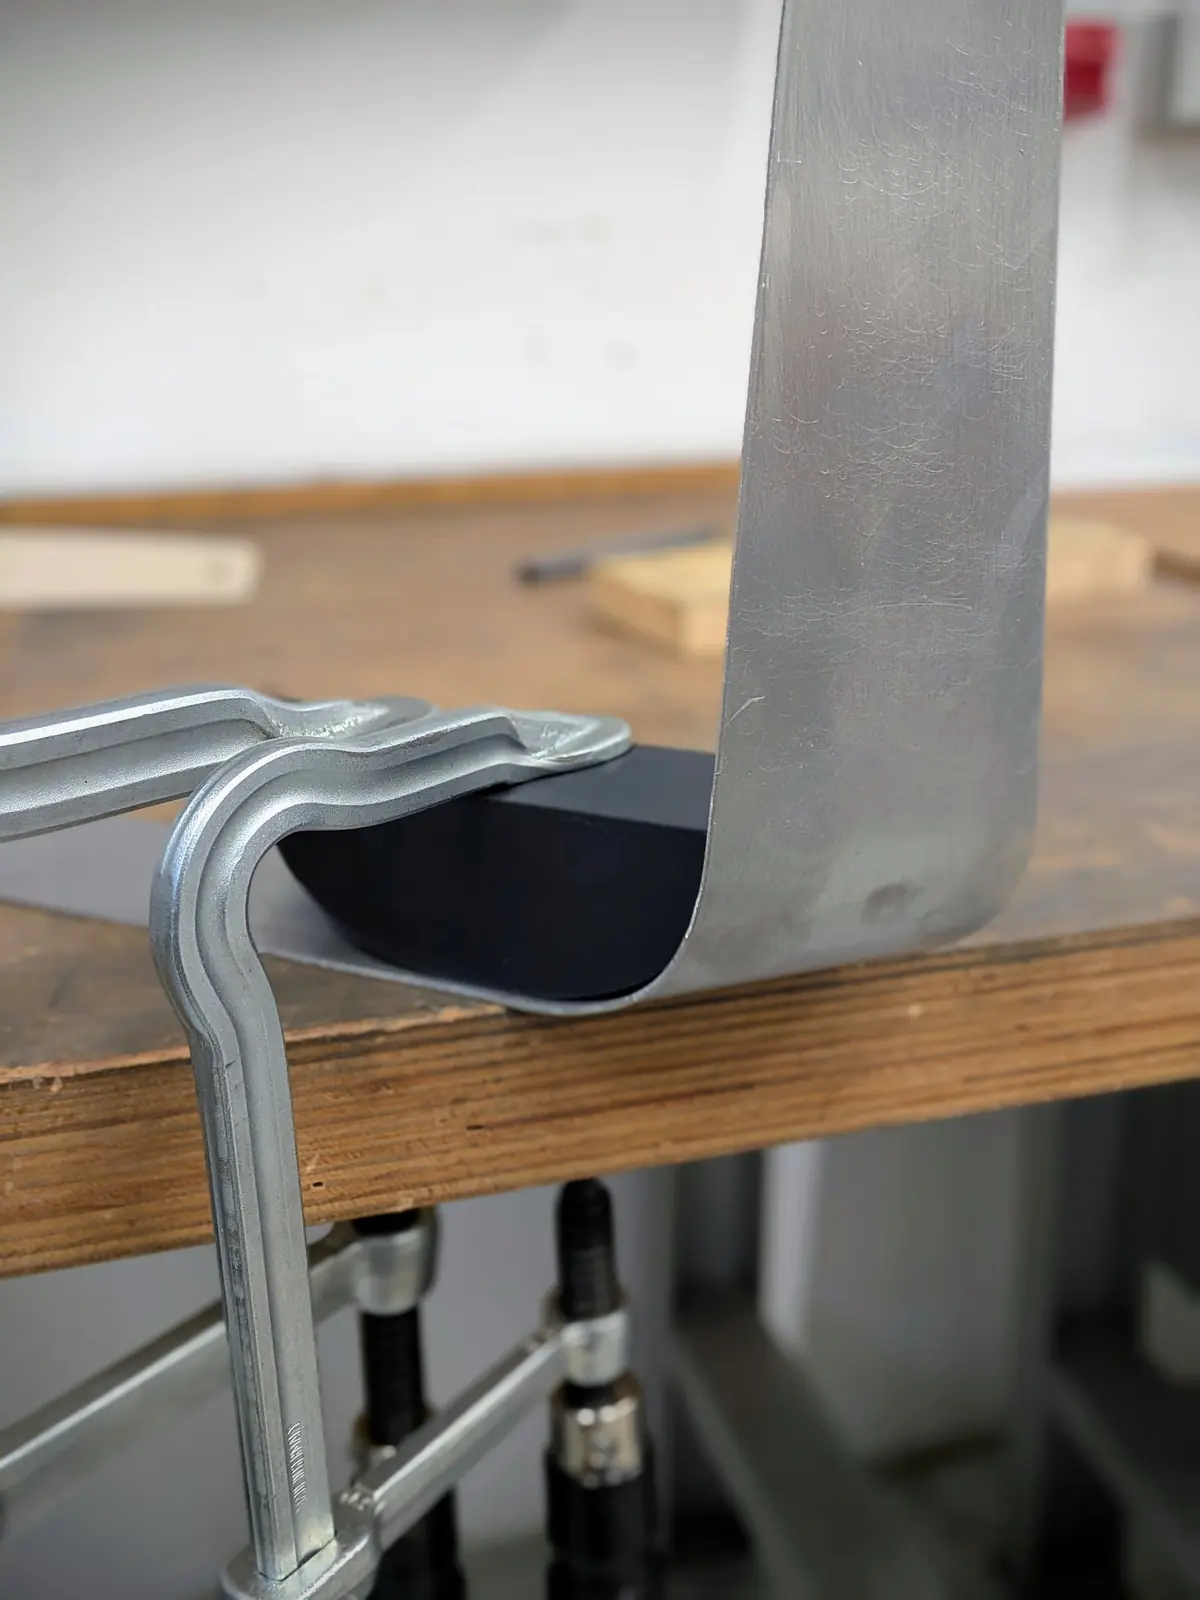
I ordered the 4 mm laser-cut parts and wanted the parts CNC bent, but found no one near Vienna who could bend it. So I used the workshop roller and tried to get there by hand. Where a bend starts and stops is hard to control that way.
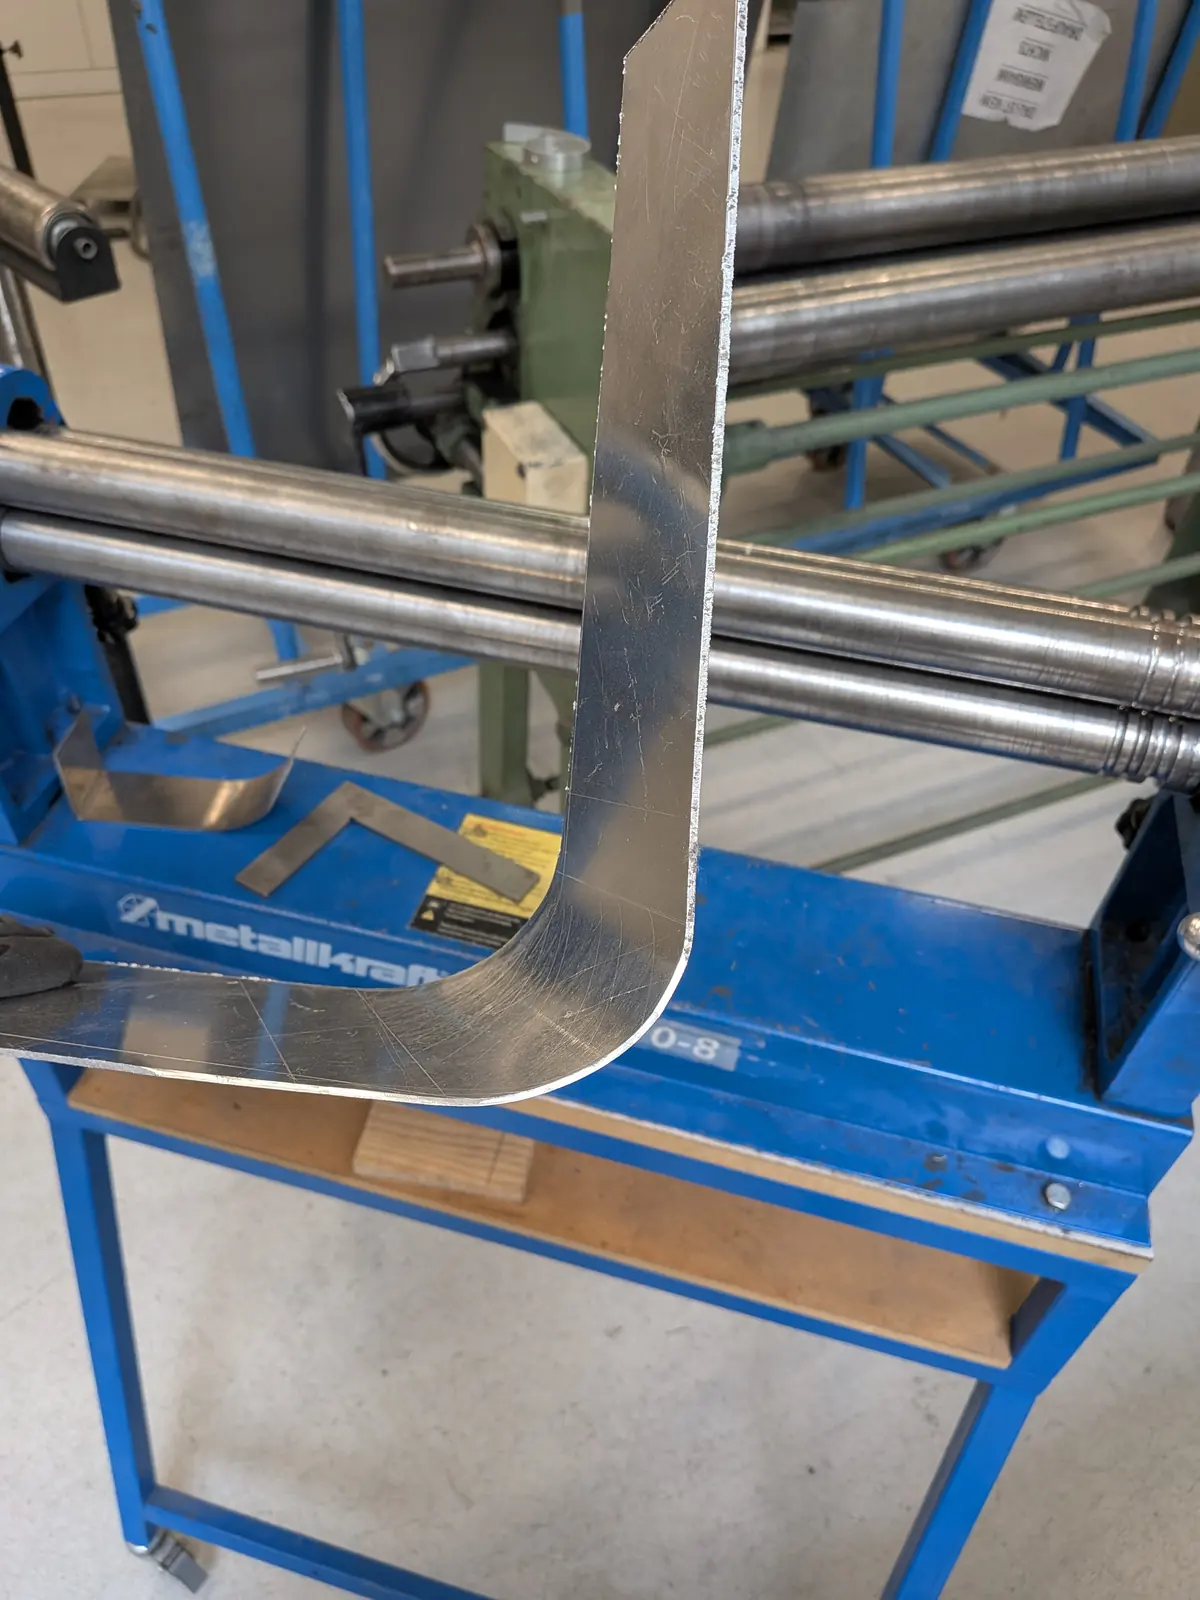
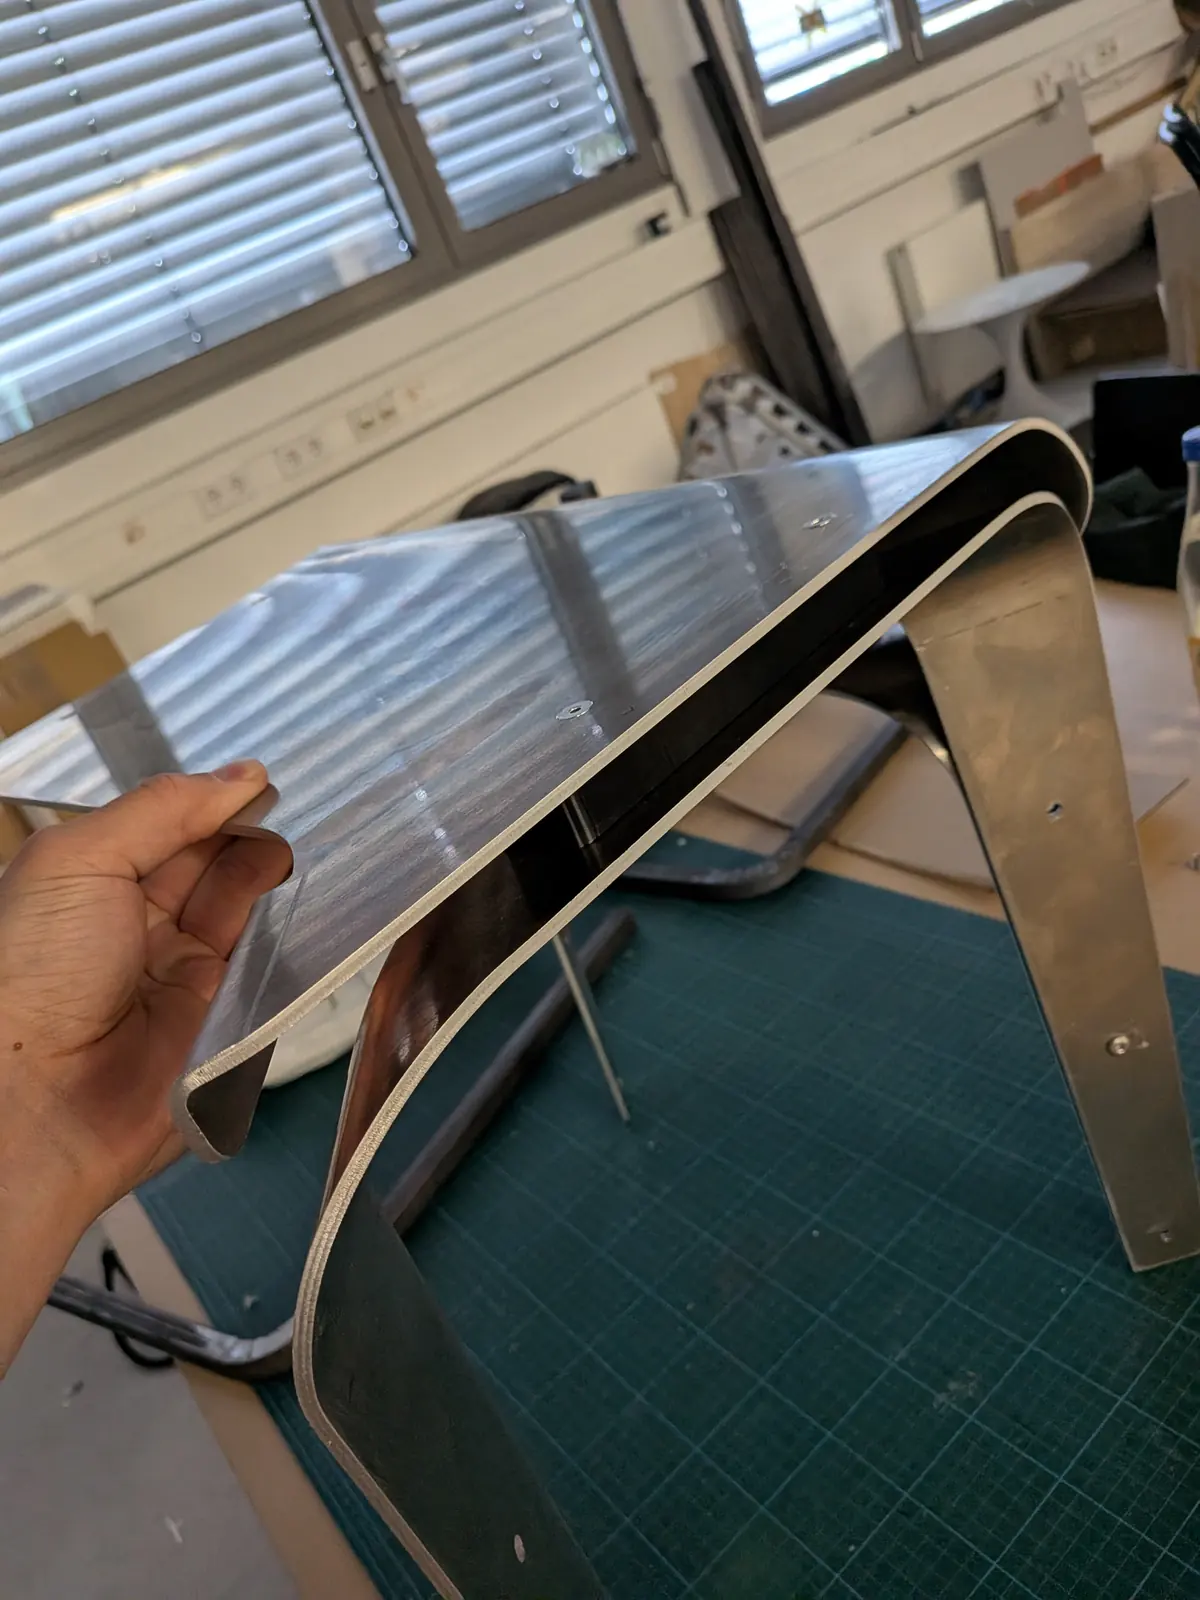
The big bend on the seat beat me. The 4 mm sheet was too stiff for a roller that small, the radius came out too large, and every screw hole shifted.
I fixed it with a custom spacer that took up the misalignment and bridged the gap it left. It was a repair, but I have come round to it. The gap between the parts is now one of the better things about the chair.
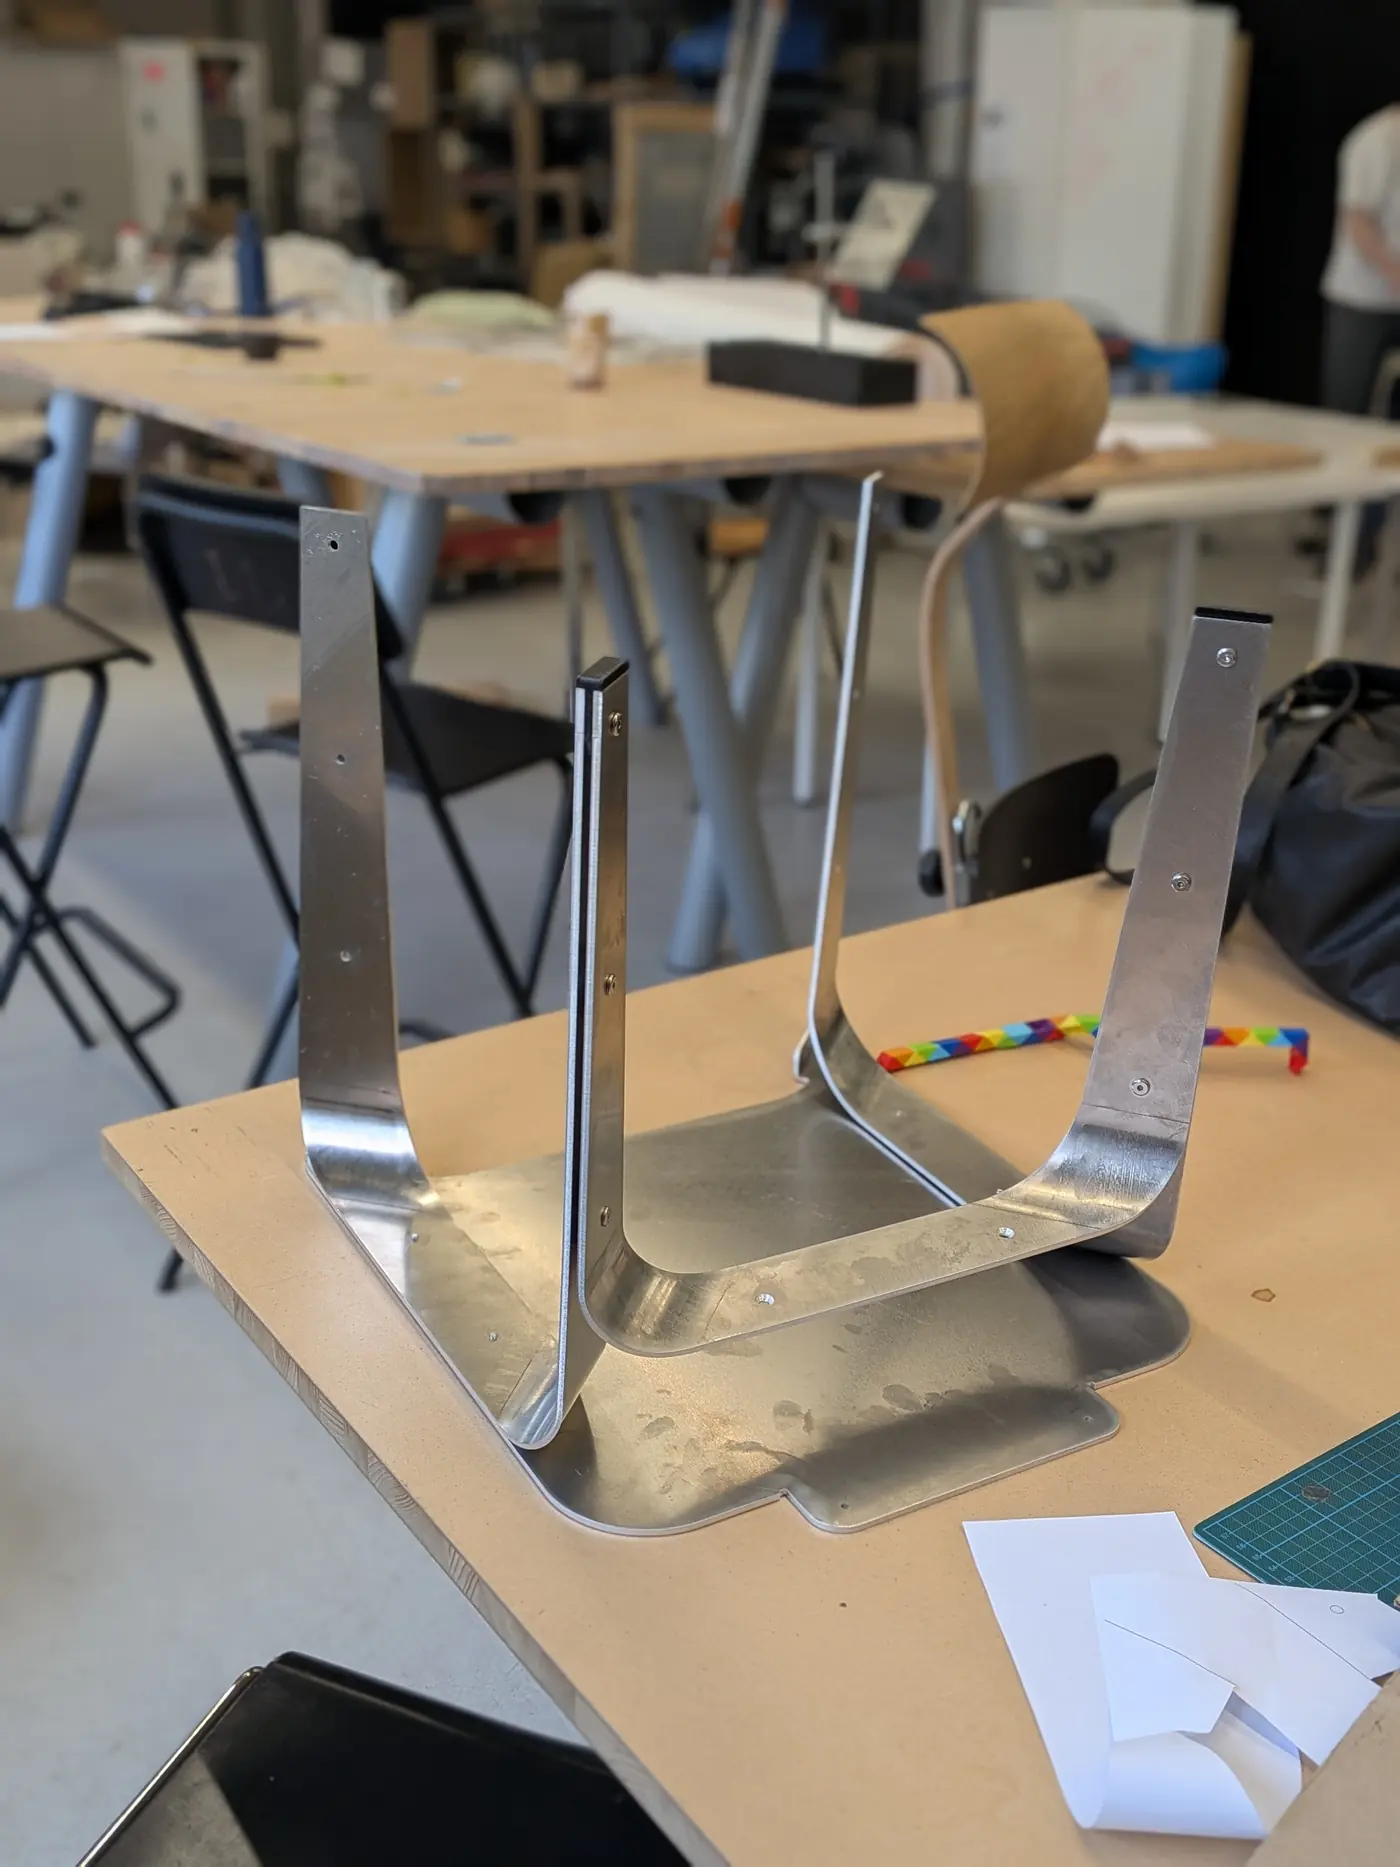
Colour against the construction
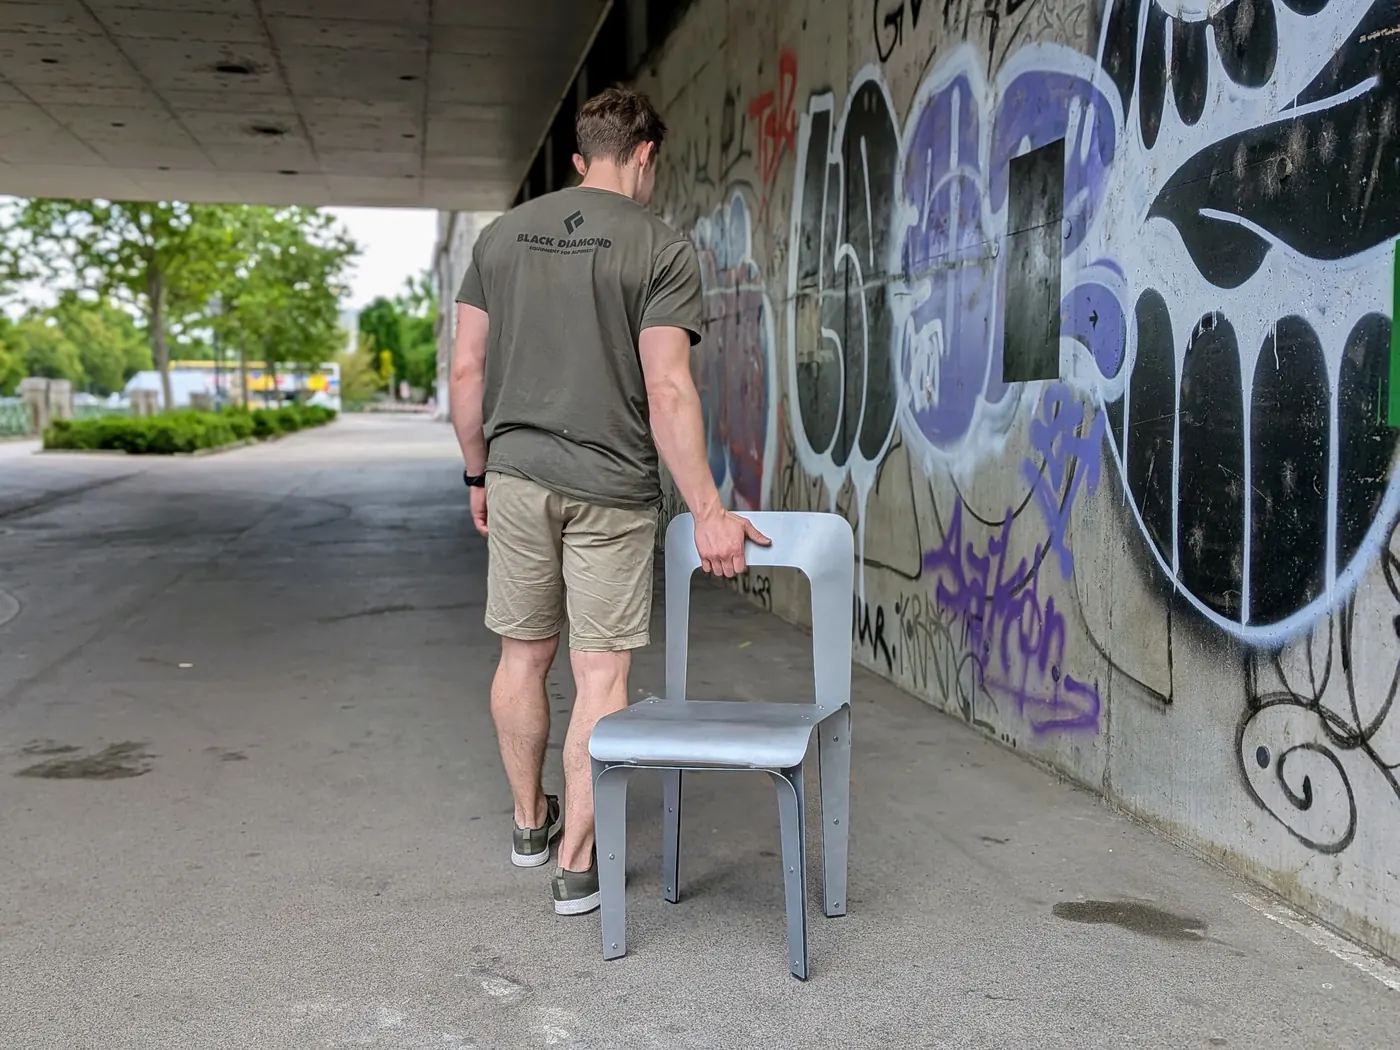
A deep blue-green, set against a construction that is otherwise very technical. The spray finish came out rough and uneven, which was disappointing after the work on the parts. The renders show how it is meant to look. I later repainted the chair grey with a better lacquer, which is the finish in the picture.
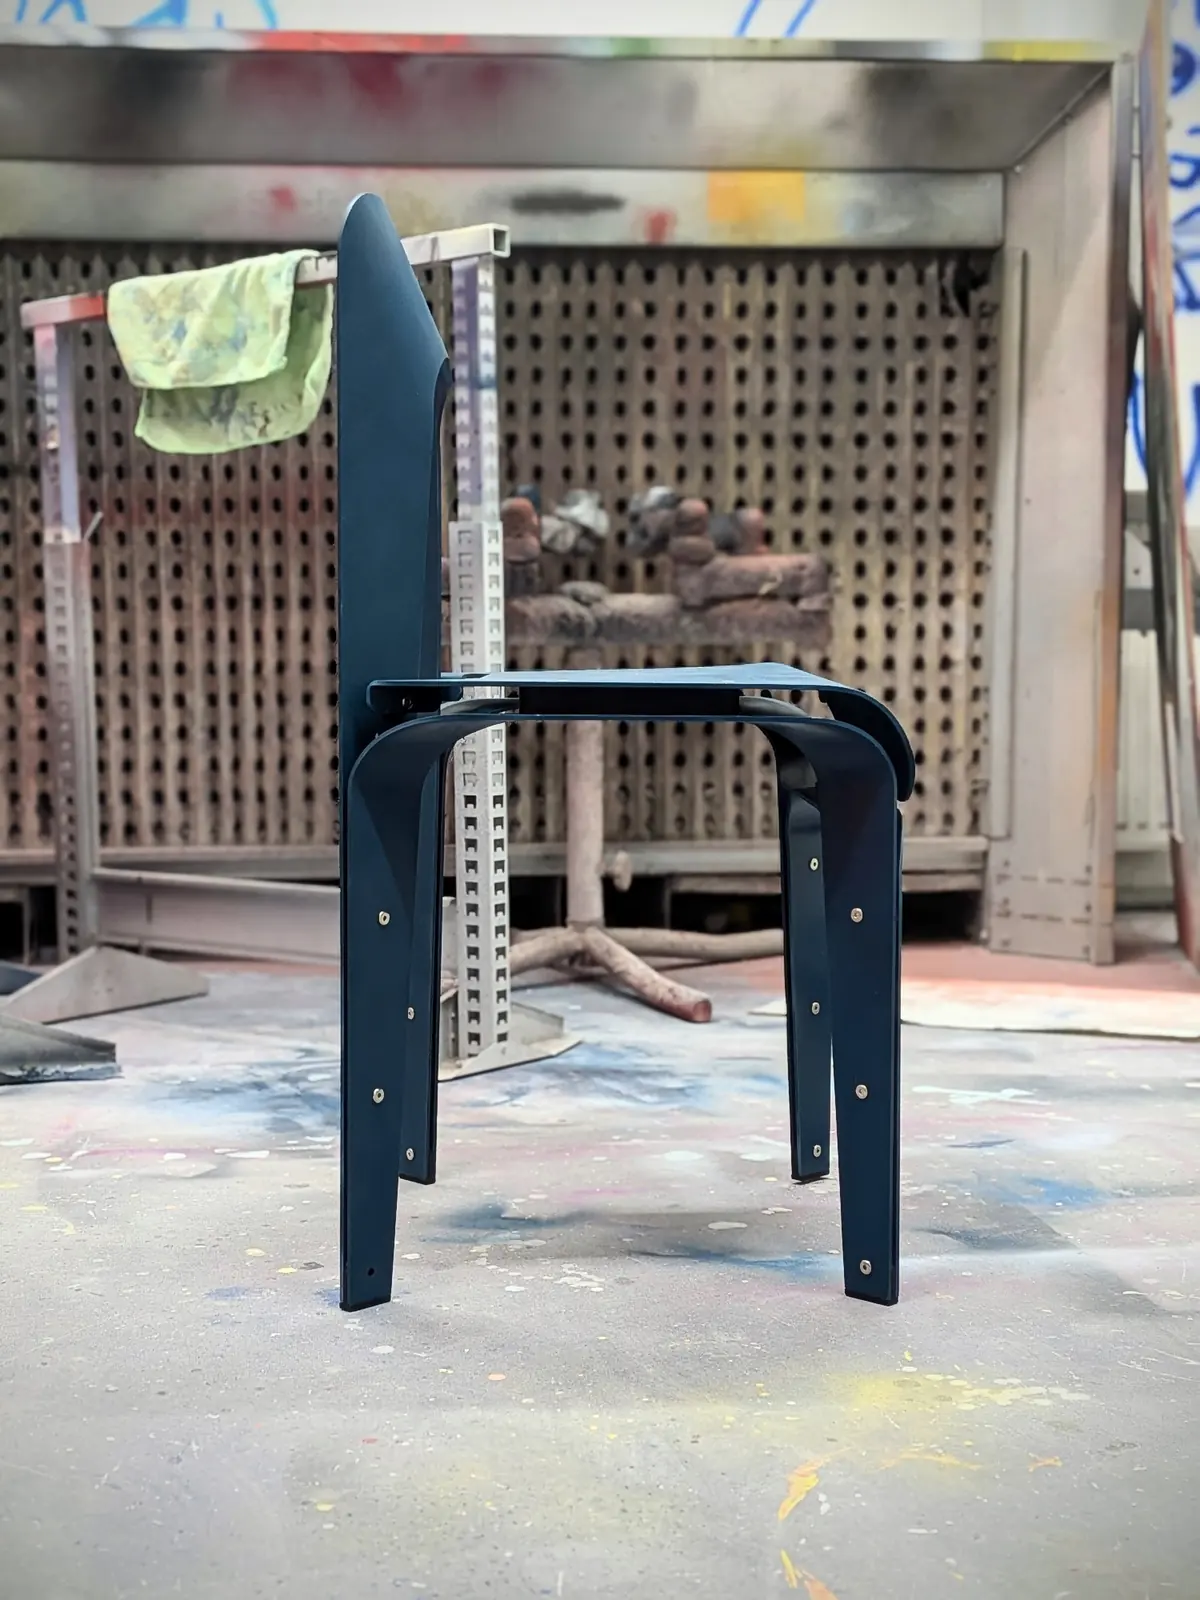
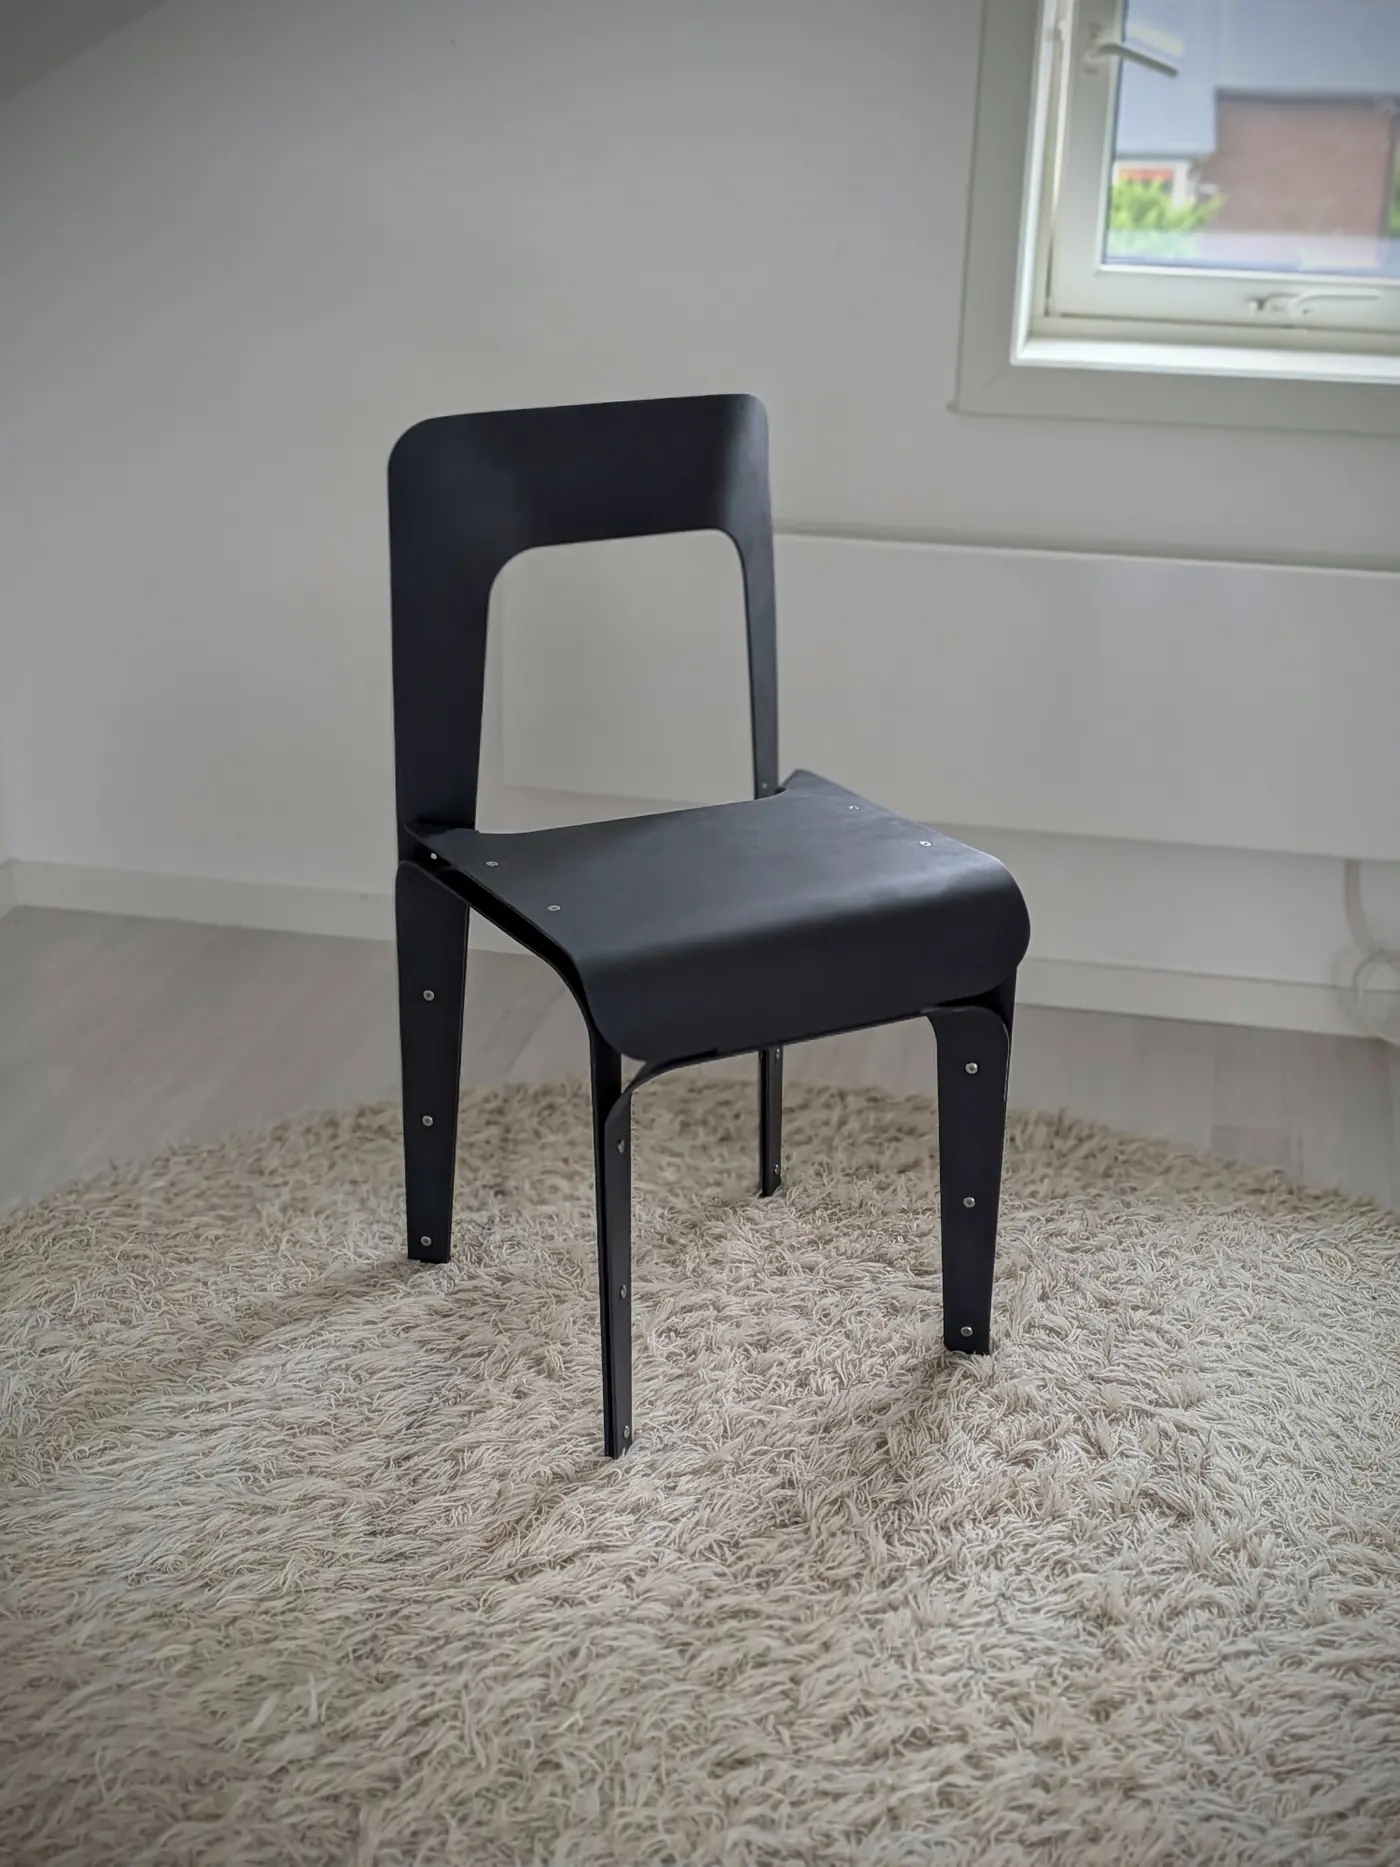
Five parts, one direction of bend
One backrest, one seat, two side legs and one front leg, all 4 mm aluminium, laser cut and bent. Every fold runs the same way. Nothing is pressed, nothing is double-curved, and there is no bracing hidden inside.
- Material
- 4 mm aluminium sheet
- Parts
- 5: backrest, seat, 2 × side, front
- Forming
- Laser cut, roller bent
- Joining
- Screws and spacers
Key learnings
The feedback afterwards was that more three-dimensional (stamping) geometry would have been structurally more efficient. That is true, and is exactly the constraint I set out to test. Still, my process might have been too rigid. I locked into one method and one visual language early which left little room for exploring other materials. I was also a bit afraid of going for stamping as it is pretty difficult to prototype.
I do think it was valuable to dive deep into one production method, and something interesting usually happens when you dive deep into a given process or material and try to push the limits. This project made me more comfortable with prototyping in general and just building and seeing where it leads.